
Public Wi-Fi is convenient, but it has always come with strings attached. When you connect at a hotel, airport, or coffee shop, you are trusting a network you know nothing about.
Your iPhone is still asking that network to translate every website you visit into something it can load, and that process reveals more than most people realize.
That translation step is handled by DNS. By default, your iPhone relies on whatever DNS server the network provides.
On a home network, that is usually your internet provider. On public Wi-Fi, it could be anything. The owner of that network can see the sites your phone requests and, in some cases, redirect you to look-alike pages designed to collect data.
Switching to a private DNS gives you more control. Instead of letting the network decide where your traffic goes, you choose a trusted service that focuses on speed and security.
Providers such as Cloudflare, Google, and Quad9 operate large-scale DNS infrastructures designed to block known malicious domains and reduce the chance of snooping.
Also: What Tim Cook just said about new AI devices should get you excited—or maybe a little worried
How to Set Up a DNS on Your iPhone
Setting up a DNS on your iPhone takes about a minute.
- Open Settings, tap Wi-Fi, then tap the blue “i” next to the network you are using.
- Scroll down, choose Configure DNS, switch it to Manual, remove the existing servers, and add the address from your chosen provider.
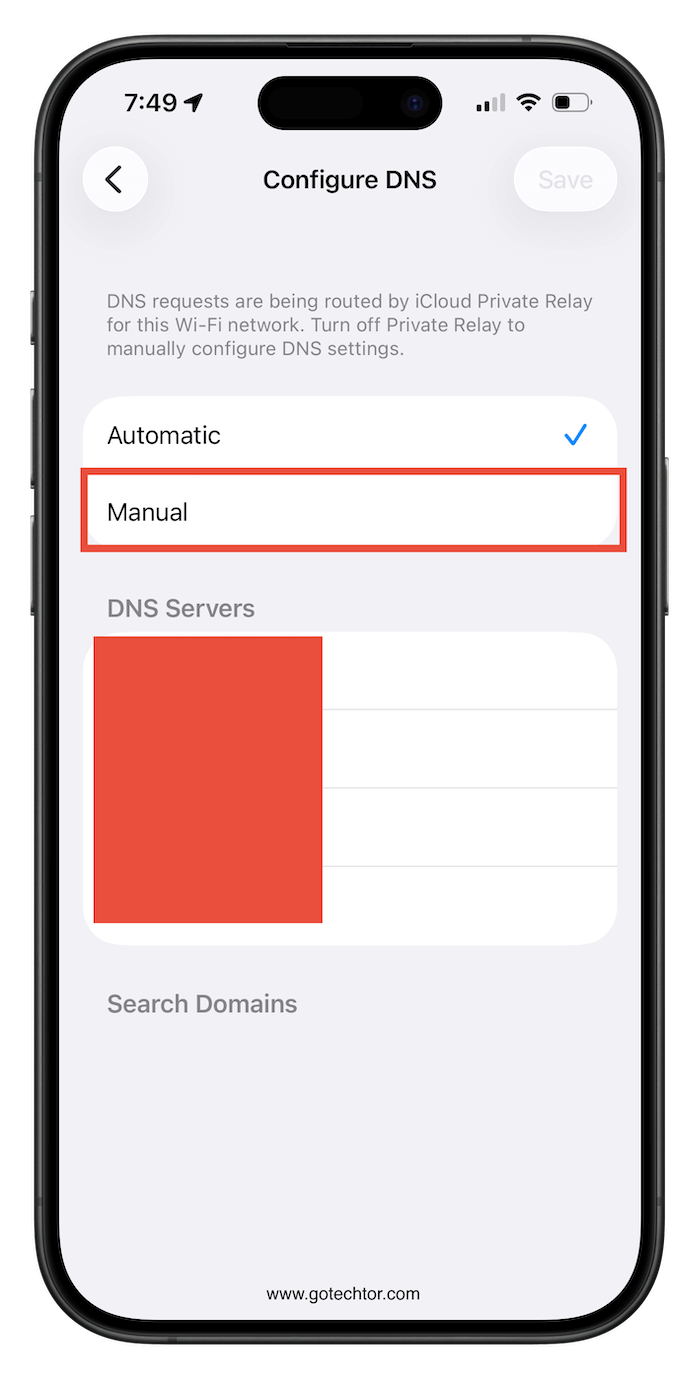
Once it is saved, your iPhone uses that DNS server for every request on that network. The difference is not flashy. Pages still load the same way, and apps behave normally.
What changes is what the network can see and control behind the scenes. On public Wi-Fi, that quiet shift can make a meaningful dent in how exposed your browsing really is.